Posted by Spycor Building on May 9th 2025

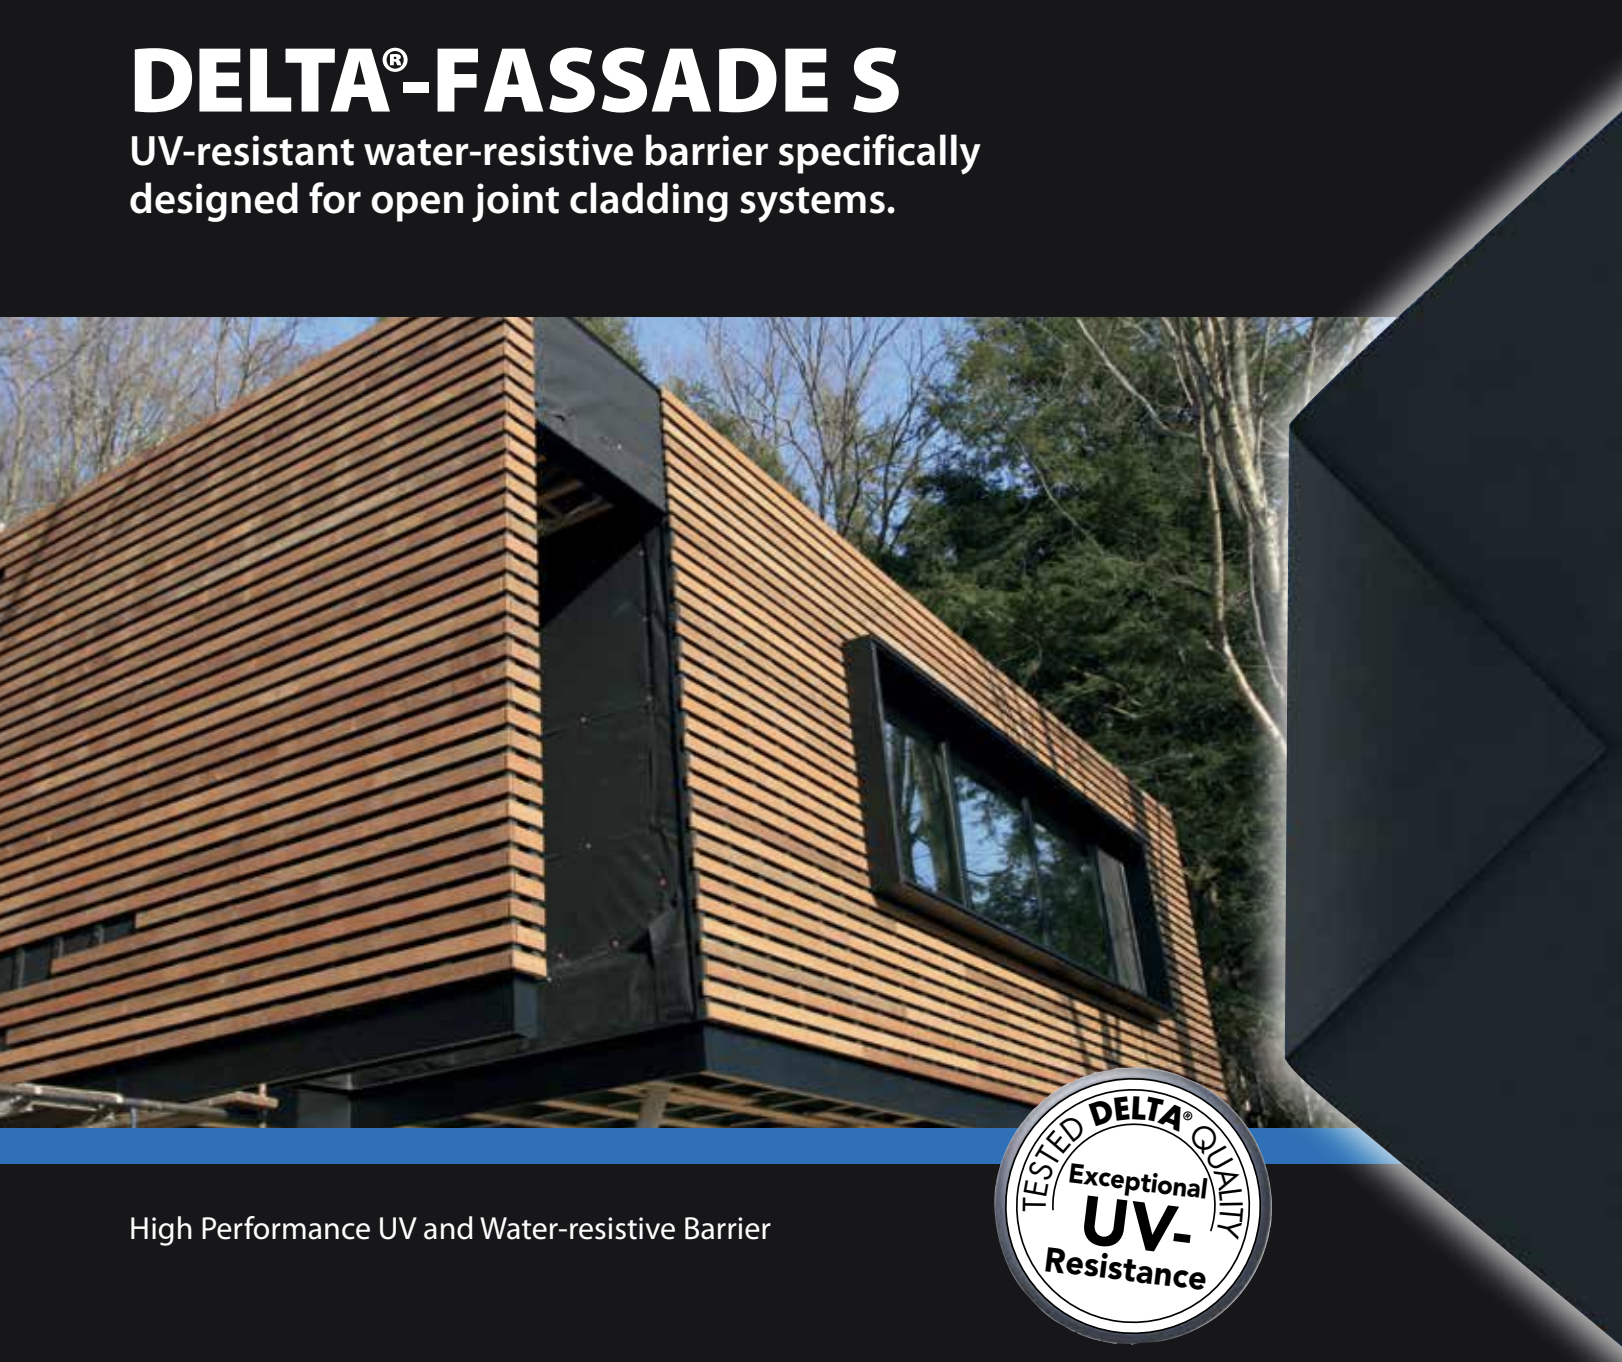
When it comes to protecting modern building envelopes, DELTA®-FASSADE S stands out as a top choice for open-joint cladding systems. This UV-resistant, highly vapor-permeable, and tear-resistant water-resistive barrier ensures durability and moisture management, making it ideal for contemporary architectural designs. In this guide, we’ll walk you through the step-by-step process of installing DELTA®-FASSADE S to achieve a watertight and breathable façade. Whether you’re a contractor or a DIY enthusiast, this tutorial will help you master DELTA®-FASSADE S installation for long-lasting performance.
Why Choose DELTA®-FASSADE S for Open-
Joint Cladding?
Before diving into the installation process, let’s explore why DELTA®-FASSADE S is a go-to solution for open-joint cladding designs. Unlike traditional barriers, this membrane is engineered to:
- Withstand extreme UV exposure, perfect for cladding systems with open joints up to 2 inches wide.
- Channel wind-driven rain and snow to the exterior, preventing water infiltration.
- Allow high vapor permeability, reducing the risk of mold and moisture buildup.
- Offer exceptional tear resistance for durability during and after installation.
These features make it compatible with premium cladding materials like Trespa, Swisspearl, or fiber cement panels, ensuring both aesthetic appeal and structural integrity.
Watch Here to Learn How to Install
DELTA®-FASSADE S
For a visual guide, check out this detailed video from Dörken Systems Inc. that walks you through the DELTA®-FASSADE S installation process for open-joint cladding designs. It covers key steps like sealing seams and detailing penetrations, making it easier to follow along.
Watch the Installation Video
Step-by-Step Guide to Installing DELTA®-
FASSADE S
Step 1: Prepare the Substrate
A smooth, clean substrate is critical for proper DELTA®-FASSADE S installation. Ensure the surface is free of debris, protrusions, or sharp objects that could damage the membrane. For best results, install over a rigid substrate like plywood or OSB. Check that the surface is dry and structurally sound before proceeding.
Pro Tip: For open-joint cladding systems, verify that the substrate meets local building codes for fire resistance and structural support.
Step 2: Measure and Cut the Membrane
Unroll the DELTA®-FASSADE S and measure sections to fit your wall area, accounting for overlaps. The membrane should overlap by at least 4 inches at horizontal seams and 6 inches at vertical seams. Use a utility knife and straightedge to cut precise sections, ensuring minimal waste.
Pro Tip: Proper cutting ensures a seamless water-resistive barrier installation, reducing gaps that could compromise performance.
Step 3: Install the First Layer
Start at the bottom of the wall to ensure water flows downward and away from the structure. Align the DELTA®-FASSADE S horizontally, keeping it taut but not stretched. Secure the membrane with corrosion-resistant fasteners, spacing them every 6–12 inches along the edges and in the field as needed. Avoid over-driving fasteners to prevent tearing.
Step 4: Overlap and Seal Seams
For continuous protection, overlap subsequent layers of DELTA®-FASSADE S as specified (4” horizontal, 6” vertical). Use DELTA®-FASSADE TAPE or DELTA®-MULTI-BAND to seal all seams, ensuring a UV-resistant and watertight bond. Press the tape firmly to eliminate air bubbles and ensure adhesion.
Step 5: Detail Windows, Doors, and Corners
To maintain an airtight and watertight envelope, carefully detail around penetrations like windows, doors, and corners. Cut the membrane to fit snugly around these areas, leaving enough material to overlap onto frames or sills. Use DELTA®-FASSADE TAPE to seal edges and ensure continuity. For corners, fold or cut the membrane neatly and secure with tape to prevent water entry.
Step 6: Inspect and Finalize
Once the DELTA®-FASSADE S is installed, inspect the entire surface for gaps, tears, or loose fasteners. Repair any damage with additional tape or patches of membrane. Ensure the membrane is securely fastened and properly sealed before installing the cladding system.
Why DELTA®-FASSADE S is a Game-
Changer
With its ability to handle up to 40% exposed façade area and joints up to 2 inches wide, DELTA®-FASSADE S is designed for modern architectural demands. Its compatibility with high-end cladding systems and proven performance in extreme weather make it a trusted choice for architects and builders worldwide.
Ready to protect your building with DELTA®-FASSADE S?
CLICK HERE to order your DELTA®-FASSADE S water-resistive barrier today and ensure your open-joint cladding system is built to last.