Posted by Spycor LLC on Aug 7th 2025
Maintaining clean, contaminant-free air is critical in environments like construction sites, healthcare facilities, and home renovations. A negative air machine (also known as a HEPA air scrubber) is a powerful tool for creating negative air pressure and eliminating harmful airborne particles such as dust, mold spores, and bacteria. This comprehensive guide will walk you through how to set up a negative air machine, optimized for high performance, safety, and compliance with industry standards. By following these steps, you’ll ensure a safer workspace and improve air quality effectively.
This guide is crafted with insights from Spycor Environmental, a trusted leader with over 15 years of experience in air filtration solutions, offering top-tier negative air machines for various applications. Let’s dive into the process to help you achieve clean air and contaminant containment with ease.
What Is a Negative Air Machine and Why Is
It Essential?
A negative air machine creates a low-pressure environment to prevent contaminants from escaping a contained area. By continuously drawing air through a multi-stage filtration system (typically including a HEPA filter), it captures 99.97% of particles as small as 0.3 microns, including mold, dust, and bacteria, and expels clean air outside. This makes negative air machines indispensable for industries requiring strict air quality control, such as:
- Construction and renovation: Controlling dust and debris.
- Healthcare: Preventing the spread of infectious particles.
- Mold remediation: Containing mold spores during cleanup.
- Industrial settings: Ensuring worker safety by removing hazardous particles.
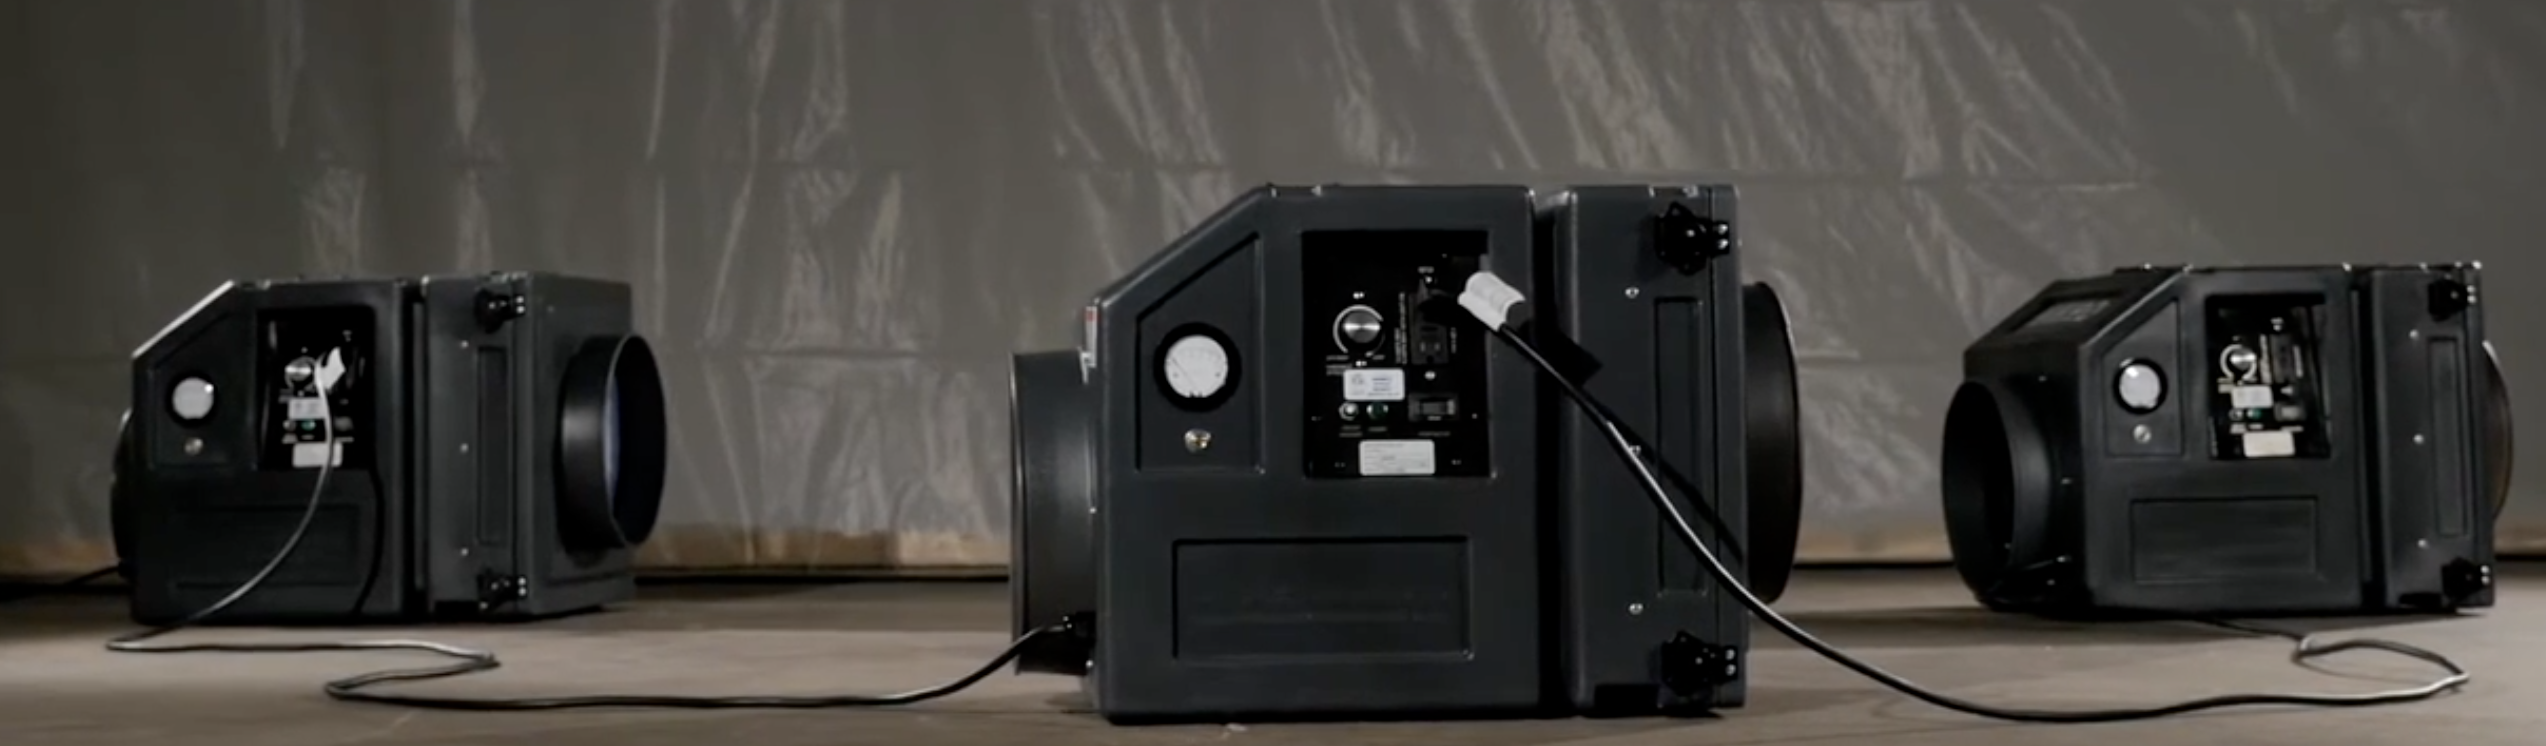
Key Components of a Negative Air Machine
Understanding the components of a negative air machine is crucial for proper setup and maintenance:
- HEPA Filters: Capture 99.97% of particles down to 0.3 microns, including allergens, mold spores, and bacteria. Most machines use a multi-stage filtration system with a pre-filter for larger particles and an optional activated carbon filter for odors and VOCs.
- Fans: Drive airflow to create negative pressure and pull contaminated air through the filters. The fan’s Cubic Feet per Minute (CFM) rating determines the machine’s capacity for different room sizes.
- Ductwork: Channels filtered air out of the containment area, maintaining negative pressure. Flexible or rigid ducts are used based on the setup requirements.
- Control Panel: Allows adjustment of fan speed and monitoring of machine performance.

Step-by-Step Guide to Setting Up a Negative Air Machine
Step 1: Prepare Your Workspace for Containment
To maximize the effectiveness of your negative air machine setup, prepare a sealed workspace:
- Create a Containment Area: Use plastic sheeting, painter’s tape, or temporary walls to enclose the area where contaminants are present. This prevents polluted air from escaping to adjacent spaces.
- Ensure Adequate Ventilation: While sealing the area, maintain sufficient ventilation to avoid stale air buildup. This supports the machine’s ability to maintain negative pressure.
- Check Power Availability: Confirm a nearby power outlet (120 VAC for most portable models) to avoid unsafe extension cords.
Step 2: Choose the Optimal Location
Positioning your HEPA air scrubber correctly enhances its efficiency:
- Proximity to Contaminants: Place the machine near the source of pollutants (e.g., sanding or demolition zones) to capture particles effectively.
- Unobstructed Airflow: Ensure the machine has clear space around it for optimal air intake and exhaust.
- Elevated Placement: If possible, position the machine slightly elevated to capture contaminants rising in the air.
- Exhaust Accessibility: Ensure the exhaust duct can be routed to an exterior window or vent without obstructions.
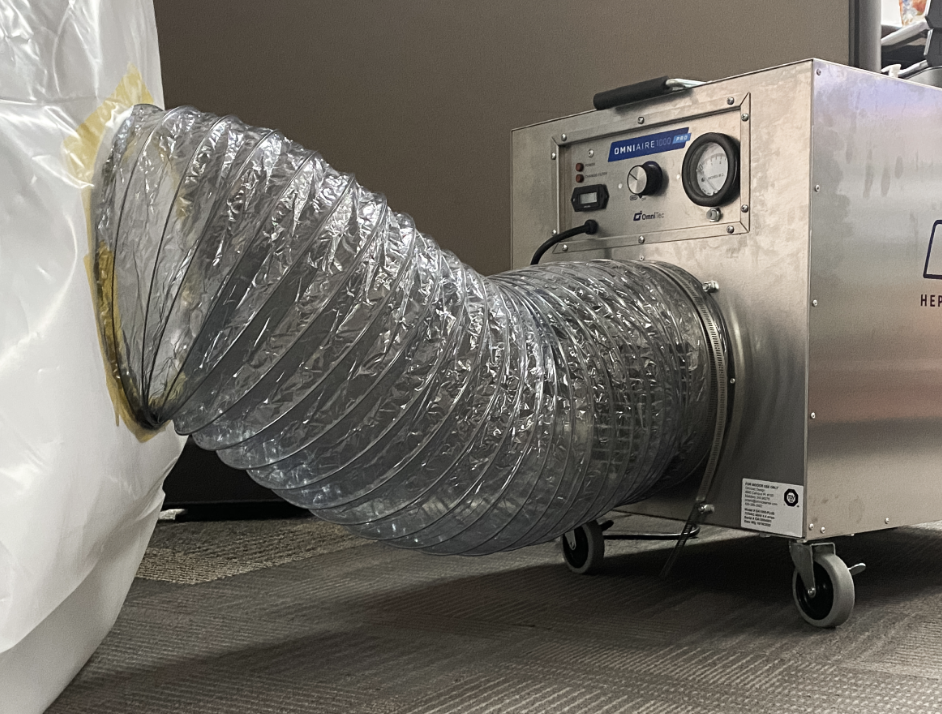
Step 3: Install Filters and Ducting
Proper installation of filters and ducting is critical for negative air pressure creation:
- Filter Installation: Securely install the pre-filter and HEPA filter as per the manufacturer’s instructions. Ensure no gaps exist around the filter to prevent unfiltered air from bypassing the system.
- Ducting Setup: Connect flexible or rigid ducting to the machine’s exhaust outlet. Secure all connections tightly to avoid leaks. Route the duct to an exterior exhaust point, such as a window or vent, to expel filtered air.
Step 4: Power Up and Test the System
Once the machine is set up:
- Connect to Power: Plug the machine into a grounded outlet.
- Activate the Machine: Turn it on and adjust the fan speed as needed for your space.
- Verify Airflow: Ensure the machine is drawing air in and expelling filtered air through the duct.
- Check Negative Pressure: Use a pressure gauge to confirm the containment area maintains negative pressure. A reading below the surrounding area’s pressure indicates proper operation.
Step 5: Monitor and Maintain for Long-Term Performance
Ongoing maintenance ensures your negative air machine operates at peak efficiency:
- Filter Checks: Inspect filters regularly for dust or debris buildup. Replace clogged filters per manufacturer guidelines to maintain airflow and filtration efficiency.
- Ducting Inspection: Check for tears, holes, or loose connections in the ducting. Repair or replace damaged sections immediately.
- Pressure Monitoring: Use a pressure gauge to verify negative pressure is maintained. Adjust machine settings or reseal leaks if pressure levels fluctuate.
- Fan and Motor Maintenance: Keep fans and motors clean to prevent performance issues.
Safety Note: Always wear personal protective equipment (PPE) when handling filters or maintaining the machine. Ensure the machine is grounded and protected from water exposure to avoid electrical hazards.
Setting up a negative air machine correctly is non-negotiable for anyone serious about air quality and safety. By following these steps, you not only protect yourself and others but also ensure your project meets the highest professional standards. A proper setup is the foundation of a successful and safe job.
CLICK HERE to explore the best negative air machines at Spycor Environmental, tailored to your specific project needs—whether it’s construction, healthcare, or home renovation
FAQ: Common Questions About Negative Air Machine Setup
How many negative air machines do I need for my space?
The number depends on the room size and contamination level. For larger areas or high-contaminant environments (e.g., construction sites), multiple machines with higher CFM ratings may be required. Contact Spycor Environmental for a tailored recommendation.
How often should I replace HEPA filters?
Replace filters when they show visible dust buildup or as recommended by the manufacturer, typically every 3–6 months, depending on usage and contaminant levels.
Can I use a negative air machine in a residential setting?
Yes, portable negative air machines, like those offered by Spycor, are ideal for home renovations, mold remediation, or allergy relief. Ensure proper ducting to an exterior exhaust point.
What is the difference between a negative air machine and an air purifier?
A negative air machine creates negative pressure to contain contaminants, while a standard air purifier recirculates filtered air within the same space. Negative air machines are better suited for high-contaminant environments.
How do I know if my negative air machine is working correctly?
Use a pressure gauge to confirm negative pressure and check for consistent airflow through the exhaust duct. Regular filter and ducting inspections also ensure optimal performance.