
Posted by Spycor Building on Oct 22nd 2026
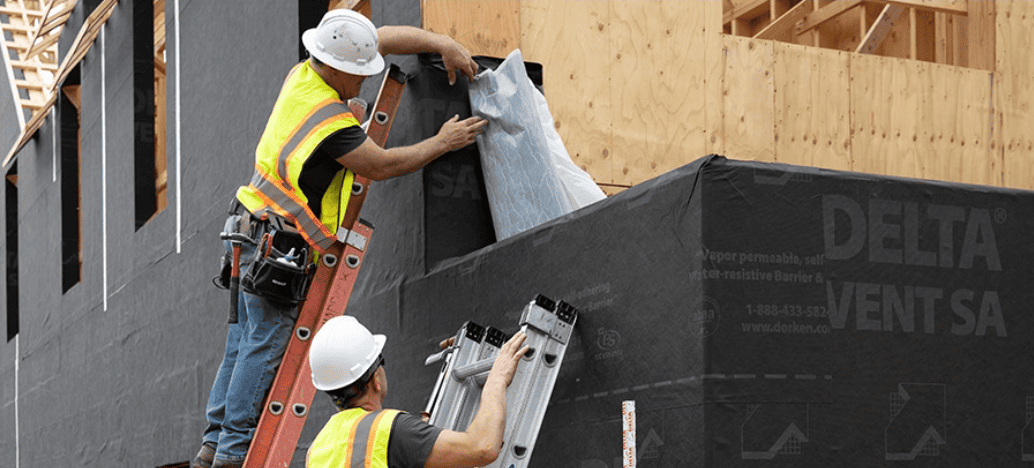
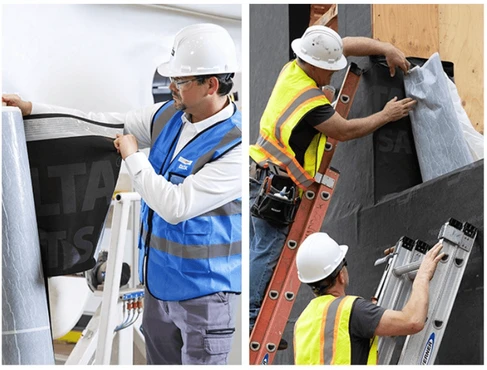
To install DELTA-VENT SA, start with a sound, clean, dry substrate (wood at 12% moisture content or less) and an air temperature of 40°F (4°C) or above. Prime only where adhesion needs help. Start at the bottom corner of the building, peel the top half of the release liner, press the sheet into place, then peel the bottom half. Overlap side laps at least 4" over the glue strip and end laps 3"–6", taping any lap without the self-adhering edge with DELTA-MULTI-BAND. Detail windows, penetrations, and the foundation transition with DELTA accessories, hand-roll every surface, inspect and patch, and cover the membrane as soon as possible, since it is not designed for permanent UV exposure.
This DELTA-VENT SA installation guide follows Dörken's official DELTA-VENT SA Installation Instructions (Flange Window Strip-in Method), dated 05/22/2025. For other window methods, Dörken publishes separate DELTA-VENT SA window installation guides. Final application and details remain the responsibility of the project's design authority.
DELTA-VENT SA Tools and Materials Checklist
Item |
Used for |
|---|---|
| DELTA-VENT SA (4'-11" × 115', 565.1 sq. ft.) | Self-adhered water-resistive and air barrier |
| DELTA-HF PRIMER, or DELTA-ADHESIVE in cold weather | Enhancing adhesion where needed |
| DELTA-FAS CORNER | Pre-formed lower corners of window rough openings |
| DELTA-FLEXX-BAND | Flexible flashing at penetrations, brick ties, and the bottom edge |
| DELTA-MULTI-BAND tape | Laps without the self-adhering edge, window edges, and repairs |
| DELTA-FLASHING | Window sills, jambs, and the bottom edge |
| DELTA-TILAXX or DELTA-LFS | Sealant at penetrations and window perimeters |
| Utility knife, measuring tape, hand roller, paint roller | Cutting, measuring, rolling the membrane, applying primer |
| Hard hat, safety boots, gloves, safety glasses, fall arrest | Required safety equipment per Dörken |
Before You Start: Substrate and Weather Requirements
Condition |
Dörken requirement |
|---|---|
| Compatible substrates | Concrete, masonry, OSB, plywood, and exterior-grade drywall |
| Surface condition | Sound, dry, clean, and free of dust, oil, grease, ice, dirt, excess mortar, or other contaminants |
| Wood and OSB moisture | 12% moisture content or less. Allow drying time after rain |
| Fasteners and protrusions | Remove protrusions. Set substrate fasteners flush and into solid backing |
| Concrete and masonry | Fill voids, gaps, and spalls. Strike joints full-flush. Cure new concrete at least 14 days and let it dry before priming |
| Concrete curing compounds and release agents | Must be resin-based, without oil, wax, or pigments |
| Temperature | 40°F (4°C) and above. In cold weather, store rolls somewhere warm |
| Weather | Don't install in adverse weather. High winds can hamper application |
| Adhesion test | Recommended to confirm substrate suitability |
When to prime: not every installation needs primer. Dörken recommends it where texture, release agents, moisture, dirt, low temperature, or wind could compromise adhesion. Use DELTA-HF PRIMER (water-based, highly vapor permeable) or DELTA-ADHESIVE for cold weather, apply it in a thin coat, and only prime the area you will cover that day.
Self-Adhered Air Barrier Installation: DELTA-VENT SA Step by Step
- Apply primer if needed. Use the recommended application rate, only on areas the membrane will cover that day.
- Cut manageable lengths. DELTA-VENT SA can be installed vertically or horizontally.
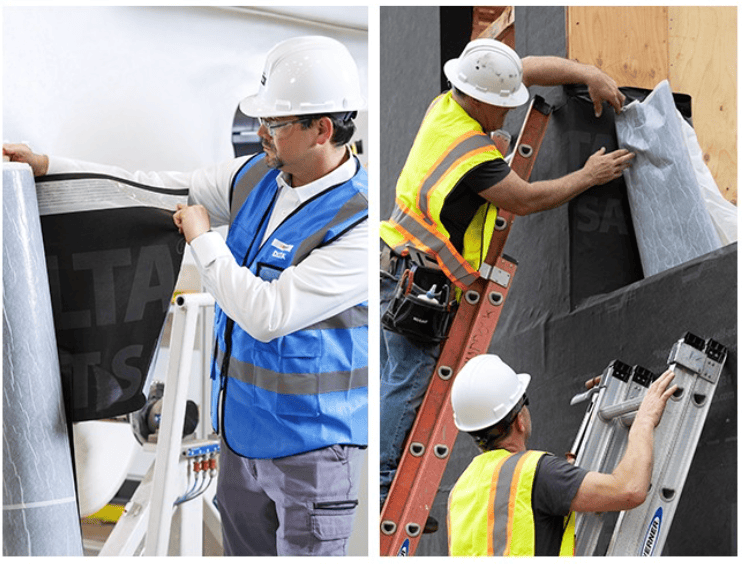
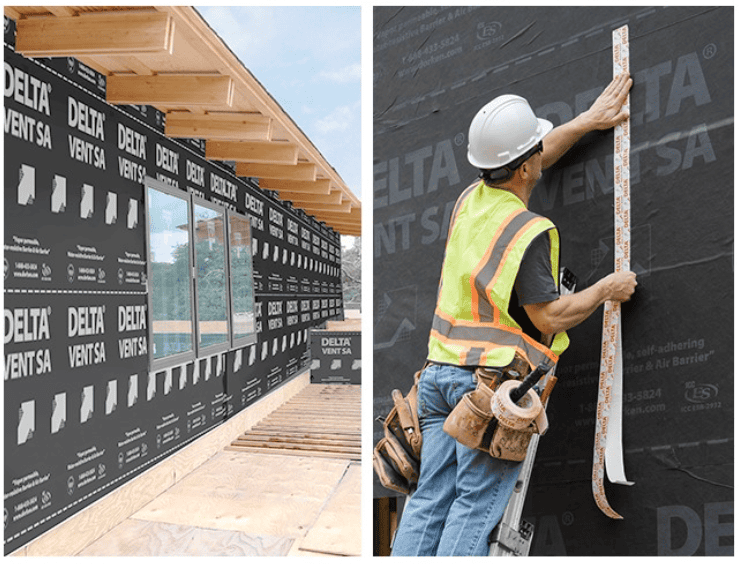
- Start at the bottom corner of the building. Align the sheet, remove the top half of the release liner, and press it firmly into place without wrinkles. Then remove the bottom half of the liner and press it down. Starting at the bottom ensures side laps shingle downward.
- Make the laps. Overlap side laps at least 4" (100 mm) so the upper course fully covers the glue strip on the course below, then remove the lap liner and press together for a glue-to-glue seal. Overlap end laps 3"–6" (75–150 mm), and tape any lap without the self-adhering edge with DELTA-MULTI-BAND.
- Roll everything. Use a hand roller to firmly roll all membrane surfaces.
- Detail the wall-to-foundation transition. Overlap through-wall flashing (DELTA-TW FLASHING) by at least 6". If there is no through-wall flashing, extend the bottom edge at least 2" (50 mm) past the sill plate, seal it with DELTA-FLASHING or DELTA-FLEXX-BAND, prime the substrate with DELTA-HF PRIMER or DELTA-ADHESIVE, and roll it firmly.
- Detail windows using the strip-in method in the next section.
- Seal penetrations. Cut the membrane as tightly as possible around pipes, conduit, and ducts. Seal gaps between the penetration and substrate with DELTA-TILAXX or DELTA-LFS, then wrap with DELTA-FLEXX-BAND. For brick ties installed after the membrane, apply a FLEXX-BAND patch at the penetration point first.
- Inspect and repair. Tape tears or holes under 2" (50 mm) with DELTA-MULTI-BAND. For larger holes, cut a DELTA-VENT SA patch at least 6" (150 mm) larger than the hole, press and roll it, then tape the patch edges bottom first, then sides, then top.
- Clean up and cover. Dispose of excess material properly, and install cladding as soon as possible.
Window Detailing: Flange Window Strip-in Method
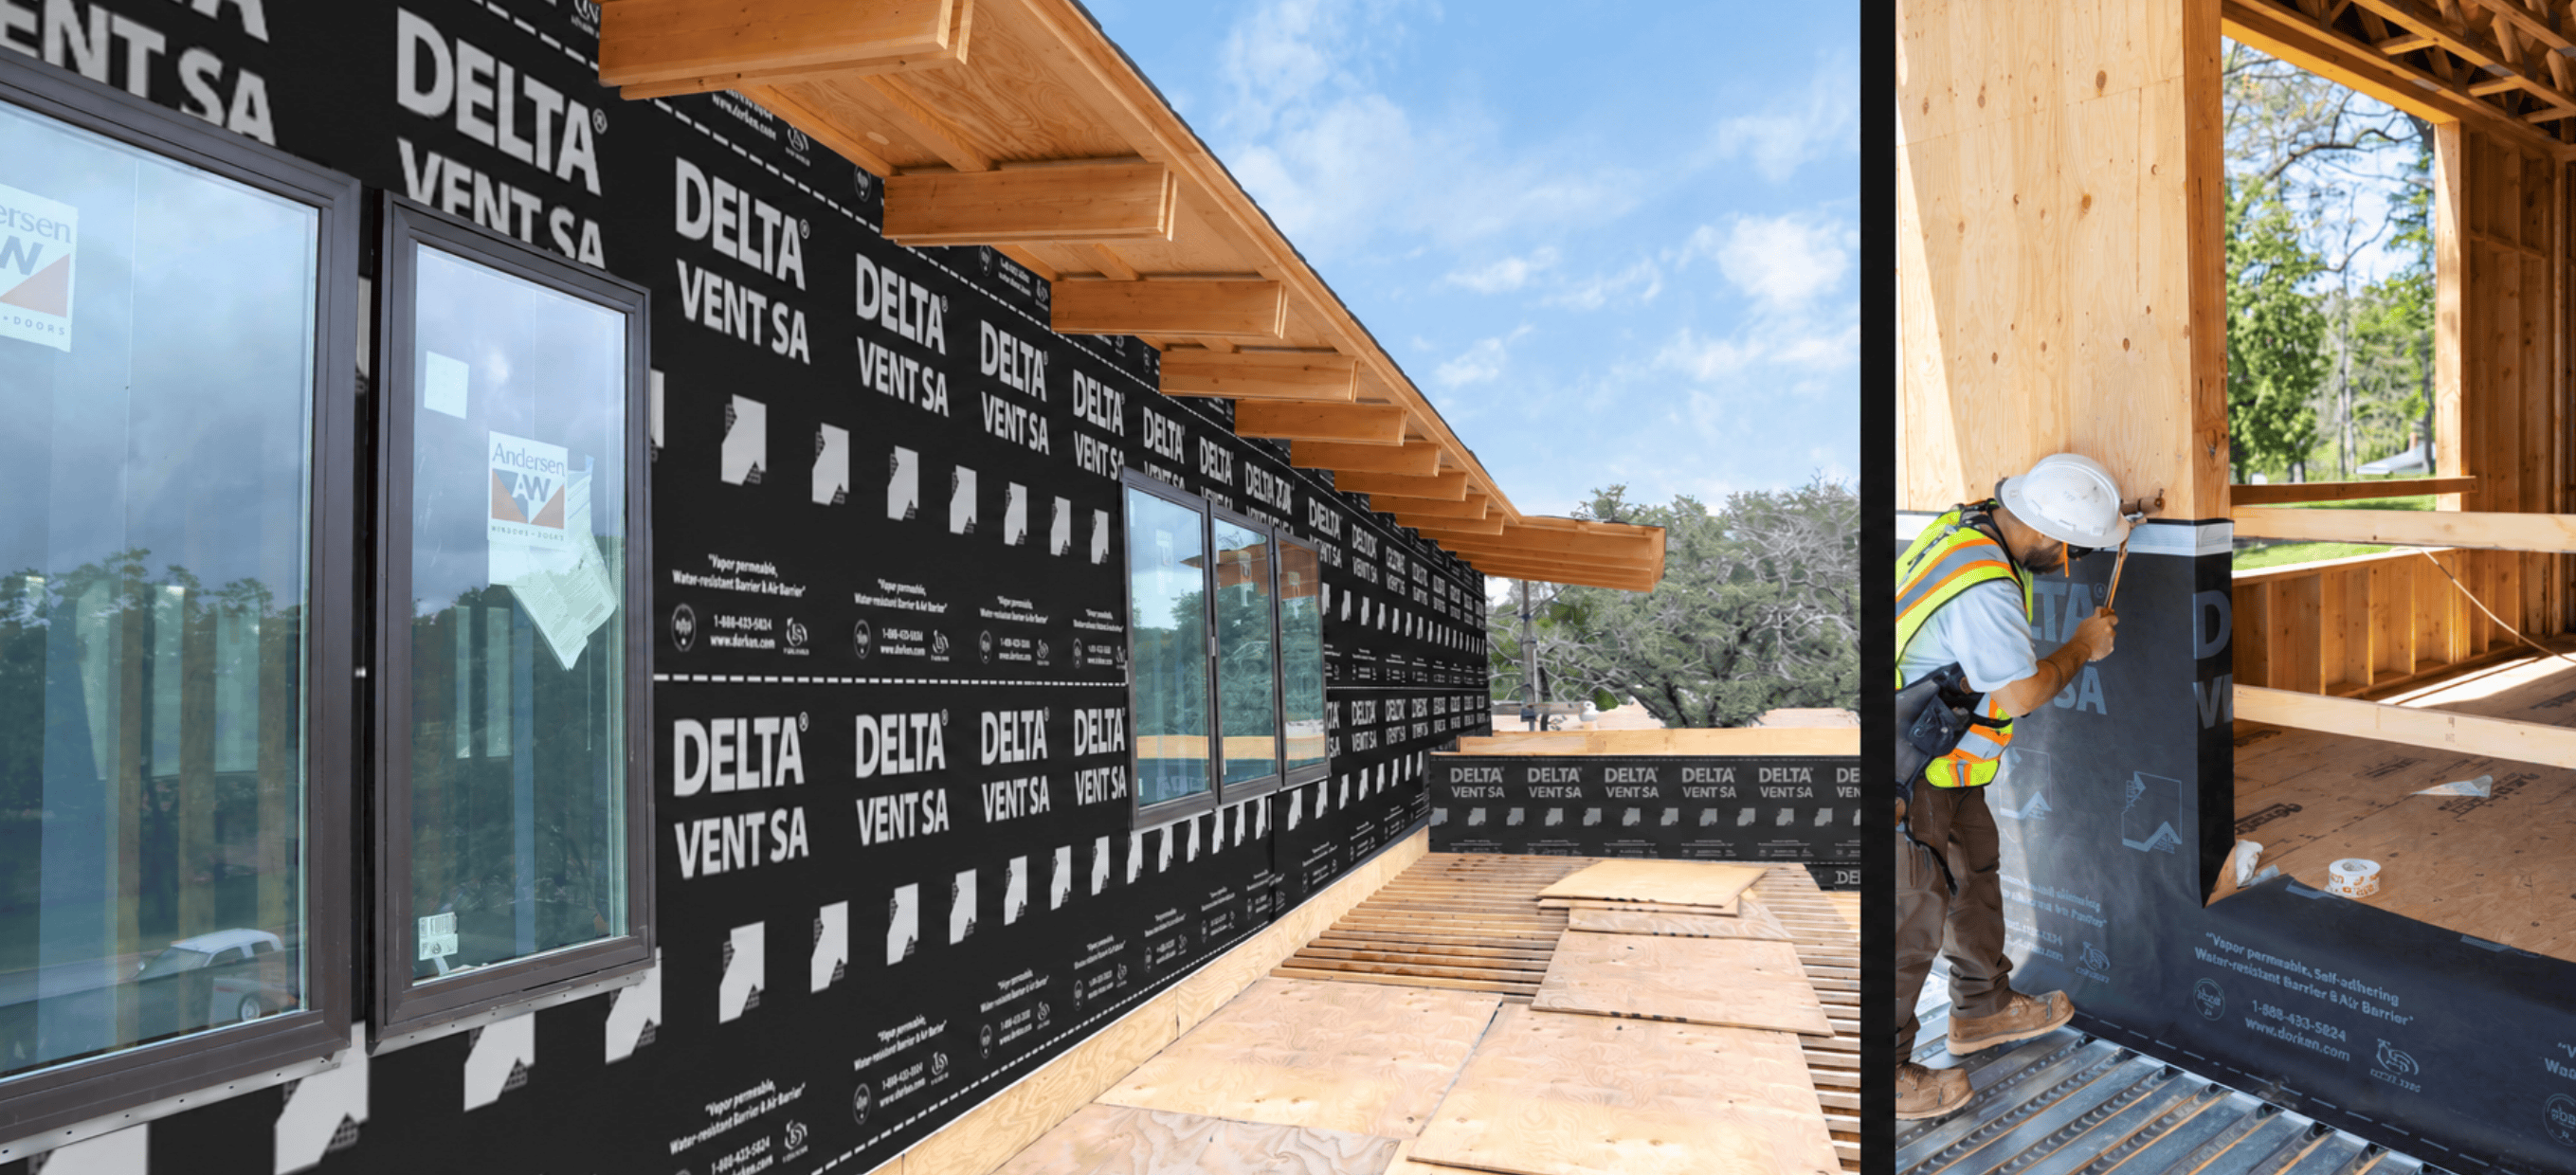
- Install DELTA-FAS CORNER in the lower corners of the rough opening, stapling the vertical leg for temporary support.
- Install DELTA-VENT SA below the window, cut out at least 8" (200 mm) above the sill. Install DELTA-FLASHING at the sill, overlapping 2" (50 mm) onto the DELTA-VENT SA below.
- Wrap the jambs with DELTA-VENT SA strips, lapping 8" onto the wall face at the jambs and at least 3" at the head. Install a strip at the head, lapping at least 8" onto the wall face. Tape overlapped edges with DELTA-MULTI-BAND.
- Shim and install the window per the window manufacturer. Dörken notes the gap to the rough opening is generally about 1/2" (12 mm).
- From the interior, install backer rod around the perimeter and seal with DELTA-TILAXX or DELTA-LFS, or use low-expansion spray foam. Don't seal the full cavity, so the sill flashing can drain.
- Prime the sheathing, then install DELTA-VENT SA over the window flange, extending at least 3" above the top flange. Tape it to the flange at both jambs with DELTA-MULTI-BAND or 6" DELTA-FLASHING.
- Install the membrane above the window head, overlapping the flange and lower sheets, tape the overlapped edges with DELTA-MULTI-BAND, and roll everything.
DELTA-VENT SA Overlap and Lap Dimensions
Detail |
Dimension |
|---|---|
| Side laps | Minimum 4" (100 mm), fully covering the glue strip |
| End laps | 3"–6" (75–150 mm) |
| Over through-wall flashing | Minimum 6" |
| Past the sill plate (no through-wall flashing) | At least 2" (50 mm) |
| Cut-out above window sill | Minimum 8" (200 mm) |
| Sill flashing onto membrane below | 2" (50 mm) |
| Jamb strip onto wall face | 8" (200 mm) |
| Head strip onto wall face | Minimum 8" (200 mm) |
| Membrane above top window flange | Minimum 3" (75 mm) |
| Repair patch beyond hole edge | Minimum 6" (150 mm) larger than the hole |
Common Exterior Wall Air Barrier Installation Mistakes to Avoid
- Using incompatible products. Don't use sealants, flashings, or chemicals that contain surfactants, such as asphaltic materials, acid-based silicones, cleaning compounds, and certain liquid flashings (for example, specific STP-based materials). Confirm compatibility with the manufacturer.
- Applying cementitious coatings directly to the membrane. Dörken doesn't recommend it. Call Dörken technical support at 1-888-433-5824 ext. 326 for these applications.
- Installing over wet wood or in the cold. Keep wood at 12% moisture or less and install at 40°F or above.
- Skipping the hand roller. Every surface should be rolled firmly to develop adhesion.
- Leaving it exposed. DELTA-VENT SA is not designed for permanent UV exposure, so cover it as soon as possible.
- Missing leakage points. Seal wall-to-roof and wall-to-foundation connections, seismic and expansion joints, penetrations, ties and fasteners, and changes in plane. Dörken recommends installing the membrane before seismic straps.
How Many Rolls of DELTA-VENT SA Do You Need?
Each roll is 4'-11" × 115' (565.1 sq. ft.). With the minimum 4" side lap, each course covers about 55" of height, so a roll covers roughly 527 sq. ft. of wall. That is a simplified calculation. Actual coverage also depends on layout, end laps, openings, window strips, and waste, so treat the table as a preliminary estimate and confirm quantities from your project drawings.
Wall area |
Example project |
Preliminary roll estimate |
|---|---|---|
| 1,500 sq. ft. | Addition or small residential project | 3 rolls |
| 2,500 sq. ft. | Single-family custom home | 5 rolls |
| 5,000 sq. ft. | Large custom home or small commercial building | 10 rolls |
| 10,000 sq. ft. | Mid-size commercial building | 19 rolls |
| 25,000 sq. ft. | Multi-story commercial or multifamily | 48 rolls |
Add your usual allowance for end laps, openings, cuts, and window strips. The DELTA-VENT SA product page lists availability as "usually ships in 7–10 business days," so confirm lead time when you order and place it before the sheathing is complete.
Shop DELTA-VENT SA (565.1 sq. ft. Roll)
Installation Notes by Project Type
Project / buyer |
Substrate |
What to watch |
|---|---|---|
| Building envelope and air barrier contractors on commercial work | Concrete and masonry | Fill voids, strike joints flush, cure new concrete 14 days, and confirm curing compounds are resin-based |
| Custom home builders and residential GCs | OSB and plywood | Check moisture content (12% or less) after rain, and set sheathing fasteners flush |
| Commercial GCs using gypsum sheathing | Exterior-grade drywall | Run an adhesion test, and prime if adhesion is marginal |
| Cold-weather installs | Any | Install at 40°F or above, store rolls warm, and use DELTA-ADHESIVE for cold weather |
| Masonry veneer projects | Any | Patch each brick tie penetration with DELTA-FLEXX-BAND before installing the tie |
Performance and Code Documentation
DELTA-VENT SA is a three-layer, vapor-permeable membrane with a self-adhesive edge lap. Spycor Building Product listing states it exceeds ABAA and NBC 2010 air barrier requirements based on ASTM E2357 testing, passes ASTM D1970 nail sealability, is Class A fire-rated, and exceeds the requirements of 60-minute Grade D building paper. Dörken also publishes a list of NFPA 285-compliant wall assemblies.
NFPA 285 compliance applies to those evaluated assemblies, not automatically to every wall that uses DELTA-VENT SA, so confirm your assembly matches a listed one. For code and specification work, see ICC-ES ESR-2932 and the DELTA-VENT SA Technical Guide.
For full specs, see our DELTA-VENT SA specs and applications guide. Choosing a barrier for a commercial project?
See why contractors pick DELTA-VENT SA as a self-adhered air barrier for commercial walls.
Bottom line: DELTA-VENT SA installs fastener-free with a glue-to-glue side lap, but adhesion depends on substrate prep, temperature, and rolling. Follow the lap dimensions above, use the matching DELTA accessories, and cover the membrane promptly.
Order DELTA-VENT SA and DELTA-FLEXX-BAND from Spycor Building Products, or browse all air and water-resistive barriers. Ordering for a large or multi-building project? Contact Spycor Building Products for volume quotes and lead times.
Frequently Asked Questions
What is the minimum temperature to install DELTA-VENT SA?
Dörken specifies 40°F (4°C) and above. In cold weather, store rolls in a warm area and use DELTA-ADHESIVE to enhance adhesion.
Do you need primer for DELTA-VENT SA?
Not always. Dörken recommends an adhesion test, and primer where texture, release agents, moisture, dirt, low temperature, or wind could compromise adhesion. Use DELTA-HF PRIMER or, in cold weather, DELTA-ADHESIVE, applied in a thin coat.
How much should DELTA-VENT SA overlap?
Side laps need at least 4" (100 mm) and must fully cover the glue strip on the course below. End laps need 3"–6" (75–150 mm), and any lap without the self-adhering edge should be taped with DELTA-MULTI-BAND.
Can DELTA-VENT SA be installed vertically?
Yes. Dörken states it can be installed vertically or horizontally. Always start at the bottom of the building so side laps shingle downward.
How long can DELTA-VENT SA be left exposed?
DELTA-VENT SA is not designed for permanent UV exposure, and Dörken says to cover it as soon as possible. For a specific exposure limit, check the DELTA-VENT SA Technical Guide or contact Dörken.